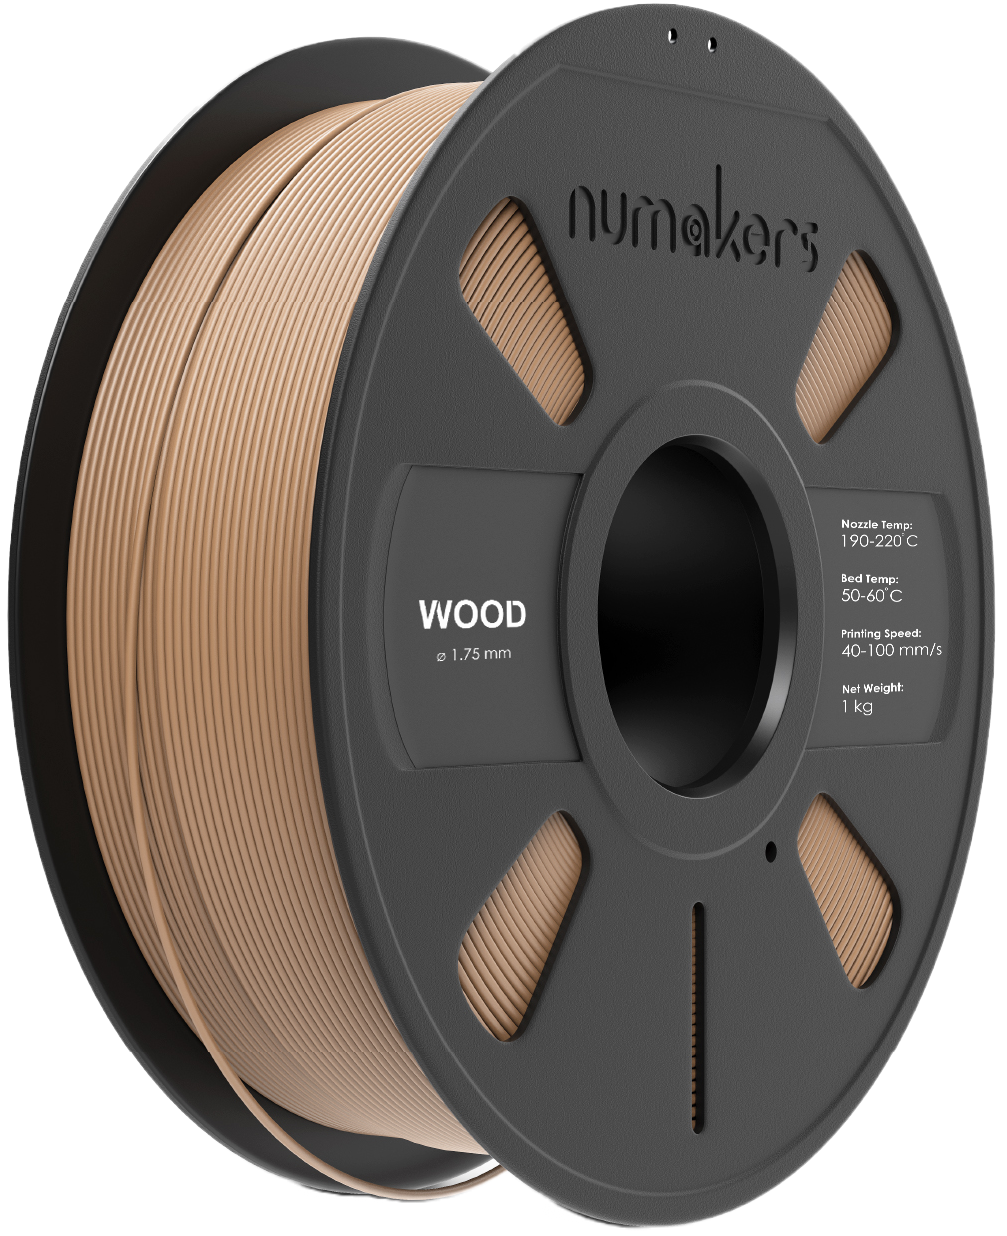
Ultimate 3D printing guide for PLA+ filament
Overview
PLA+ filament is one of the most popular filaments for 3D printing. It is made from polylactic acid, a biodegradable and renewable material that is derived from cornstarch or sugarcane. PLA+ filament is known for its ease of printing, strong mechanical properties, and smooth finish. It is also relatively inexpensive, making it a great choice for beginners and hobbyists.
Here are some of the key benefits of using PLA filament for 3D printing:
- Easy to print: PLA+ filament is one of the easiest filaments to print with. It has a low melting temperature and does not warp or shrin as easily as other filaments. This makes it a great choice for beginners who are still learning how to 3D print.
- Strong mechanical properties: PLA filament has good tensile strength and impact resistance. This makes it a good choice for parts that need to be strong but not too heavy.
- Smooth finish: PLA filament produces a smooth, glossy finish when printed. This makes it a good choice for parts that will be visible or used in applications where a smooth surface is important.
- Biodegradable and renewable: PLA filament is made from renewable resources, making it a more sustainable choice than other filaments. It is also biodegradable, so it will break down in landfills over time.
How to print with PLA+ filament
- Prepare your 3D printer: Make sure that your 3D printer is properly assembled and calibrated. You should also clean the print bed with rubbing alcohol to remove any dirt or grease.
- Choose the right settings: PLA+ filament requires slightly higher printing temperatures than standard PLA. The recommended extruder temperature for PLA+ is 200-230 °C, and the recommended bed temperature is 30-60°C. You may also need to increase the print speed slightly.
- Load the filament: Make sure that the filament is properly loaded into the extruder. The filament should be fed through the extruder gears smoothly without any resistance.
- Start the print: Once the print is started, monitor the print closely. PLA+ can be more difficult to print with than standard PLA, so it is important to be on the lookout for any problems.
- Troubleshooting: If you encounter any problems during the print, such as stringing or layer adhesion issues, you may need to adjust the print settings. You can also try slowing down the print speed or increasing the bed temperature.
Here are some additional tips for printing with PLA+ filament:
- Store the filament properly. PLA+ filament should be stored in an airtight container with desiccant to prevent it from absorbing moisture.
- Clean the print bed regularly. PLA+ can be more difficult to remove from the print bed than standard PLA. It is important to clean the print bed regularly with rubbing alcohol to prevent the filament from sticking too much.
General tips on printing temperature
Finding the right printing temperature for any filament is a compromise between visual looks and strength. Lowered nozzle temperatures can help to reduce oozing, stringing, and improve bridging and overhangs. However, they can also weaken the print by reducing layer adhesion.
The best printing temperature for any filament will vary depending on the printer, the filament, and the desired results. A good starting point is to use the middle of the recommended temperature range and then adjust the temperature as needed. To get the best results, it is important to experiment with different temperatures and print settings. A temp tower is a great way to test different temperatures and see how they affect the print quality. You can find numerous temp towers on Thingiverse, such as this one.
With patience and tuning, you can achieve both good visual looks and strength with the right printing temperature.
How to get PLA+ filament to stick to the bed
Most bed surfaces respond well to PLA+ adhesion. Here are some tips to get PLA+ to stick to the bed:
-
Use a clean and level bed. A dirty or uneven bed can prevent the filament from sticking properly.
-
Use a heated bed. A heated bed will help the filament to melt and adhere to the bed. The recommended bed temperature for PLA+ is 30-50°C.
-
Use a bed adhesive. A bed adhesive, such as glue stick, hairspray, or Magigoo, can help to improve adhesion and prevent warping.
-
Use a PEI sheet. A PEI sheet is a great option for printing with PLA+. PEI sheets have a non-stick surface that is compatible with a variety of filaments, including PLA+.
General tips on bed adhesion/leveling
These are some general tips for achieving proper bed adhesion and leveling when 3D printing. The most important rule is to always ensure that the first layer of the print is perfect, with no gaps or overlaps. This can be achieved by adjusting the distance between the nozzle and the bed, which should be neither too close nor too far apart.
Different filaments may require different levels of squishiness against the bed for optimal adhesion, with PLA+ usually needing more squishing than PETG. If you experience warping during printing, check for drafts or low temperatures in your surroundings and consider using an enclosure. For complex prints with intricate details, it's recommended to lower the first layer printing speed to 15-20mm/s to ensure a good first layer.
If extra bed adhesion is needed, you can increase the hotend and bed temperature by 5-10°C and use a brim. By following these tips, you can improve the overall quality of your 3D prints.
General tips on improving visual quality of your 3D prints
Slower print speeds result in better-looking prints. You'll almost certainly obtain better results and higher visual quality if you lower your print speeds, regardless of the printer you use. Of course, there will also be a reduction in layer heights. A layer height of no more than 0.15 mm and a printing speed of no more than 50 mm/s are advised for excellent visual results.
Tune your retractions' rates and lengths to eliminate stray strings or blobs for even better visual quality. If the issue persists, try decreasing the nozzle temperature by 5°C steps.
Make sure that the part cooling fan is tuned and functioning properly. Cooling can significantly enhance the visual part quality and is necessary to address overhangs and bridging.
You can turn on "ironing" in your slicer software to provide your top layer a nicer surface polish; this will notably help PLA+ prints.


